DIY Faux Shiplap Wall
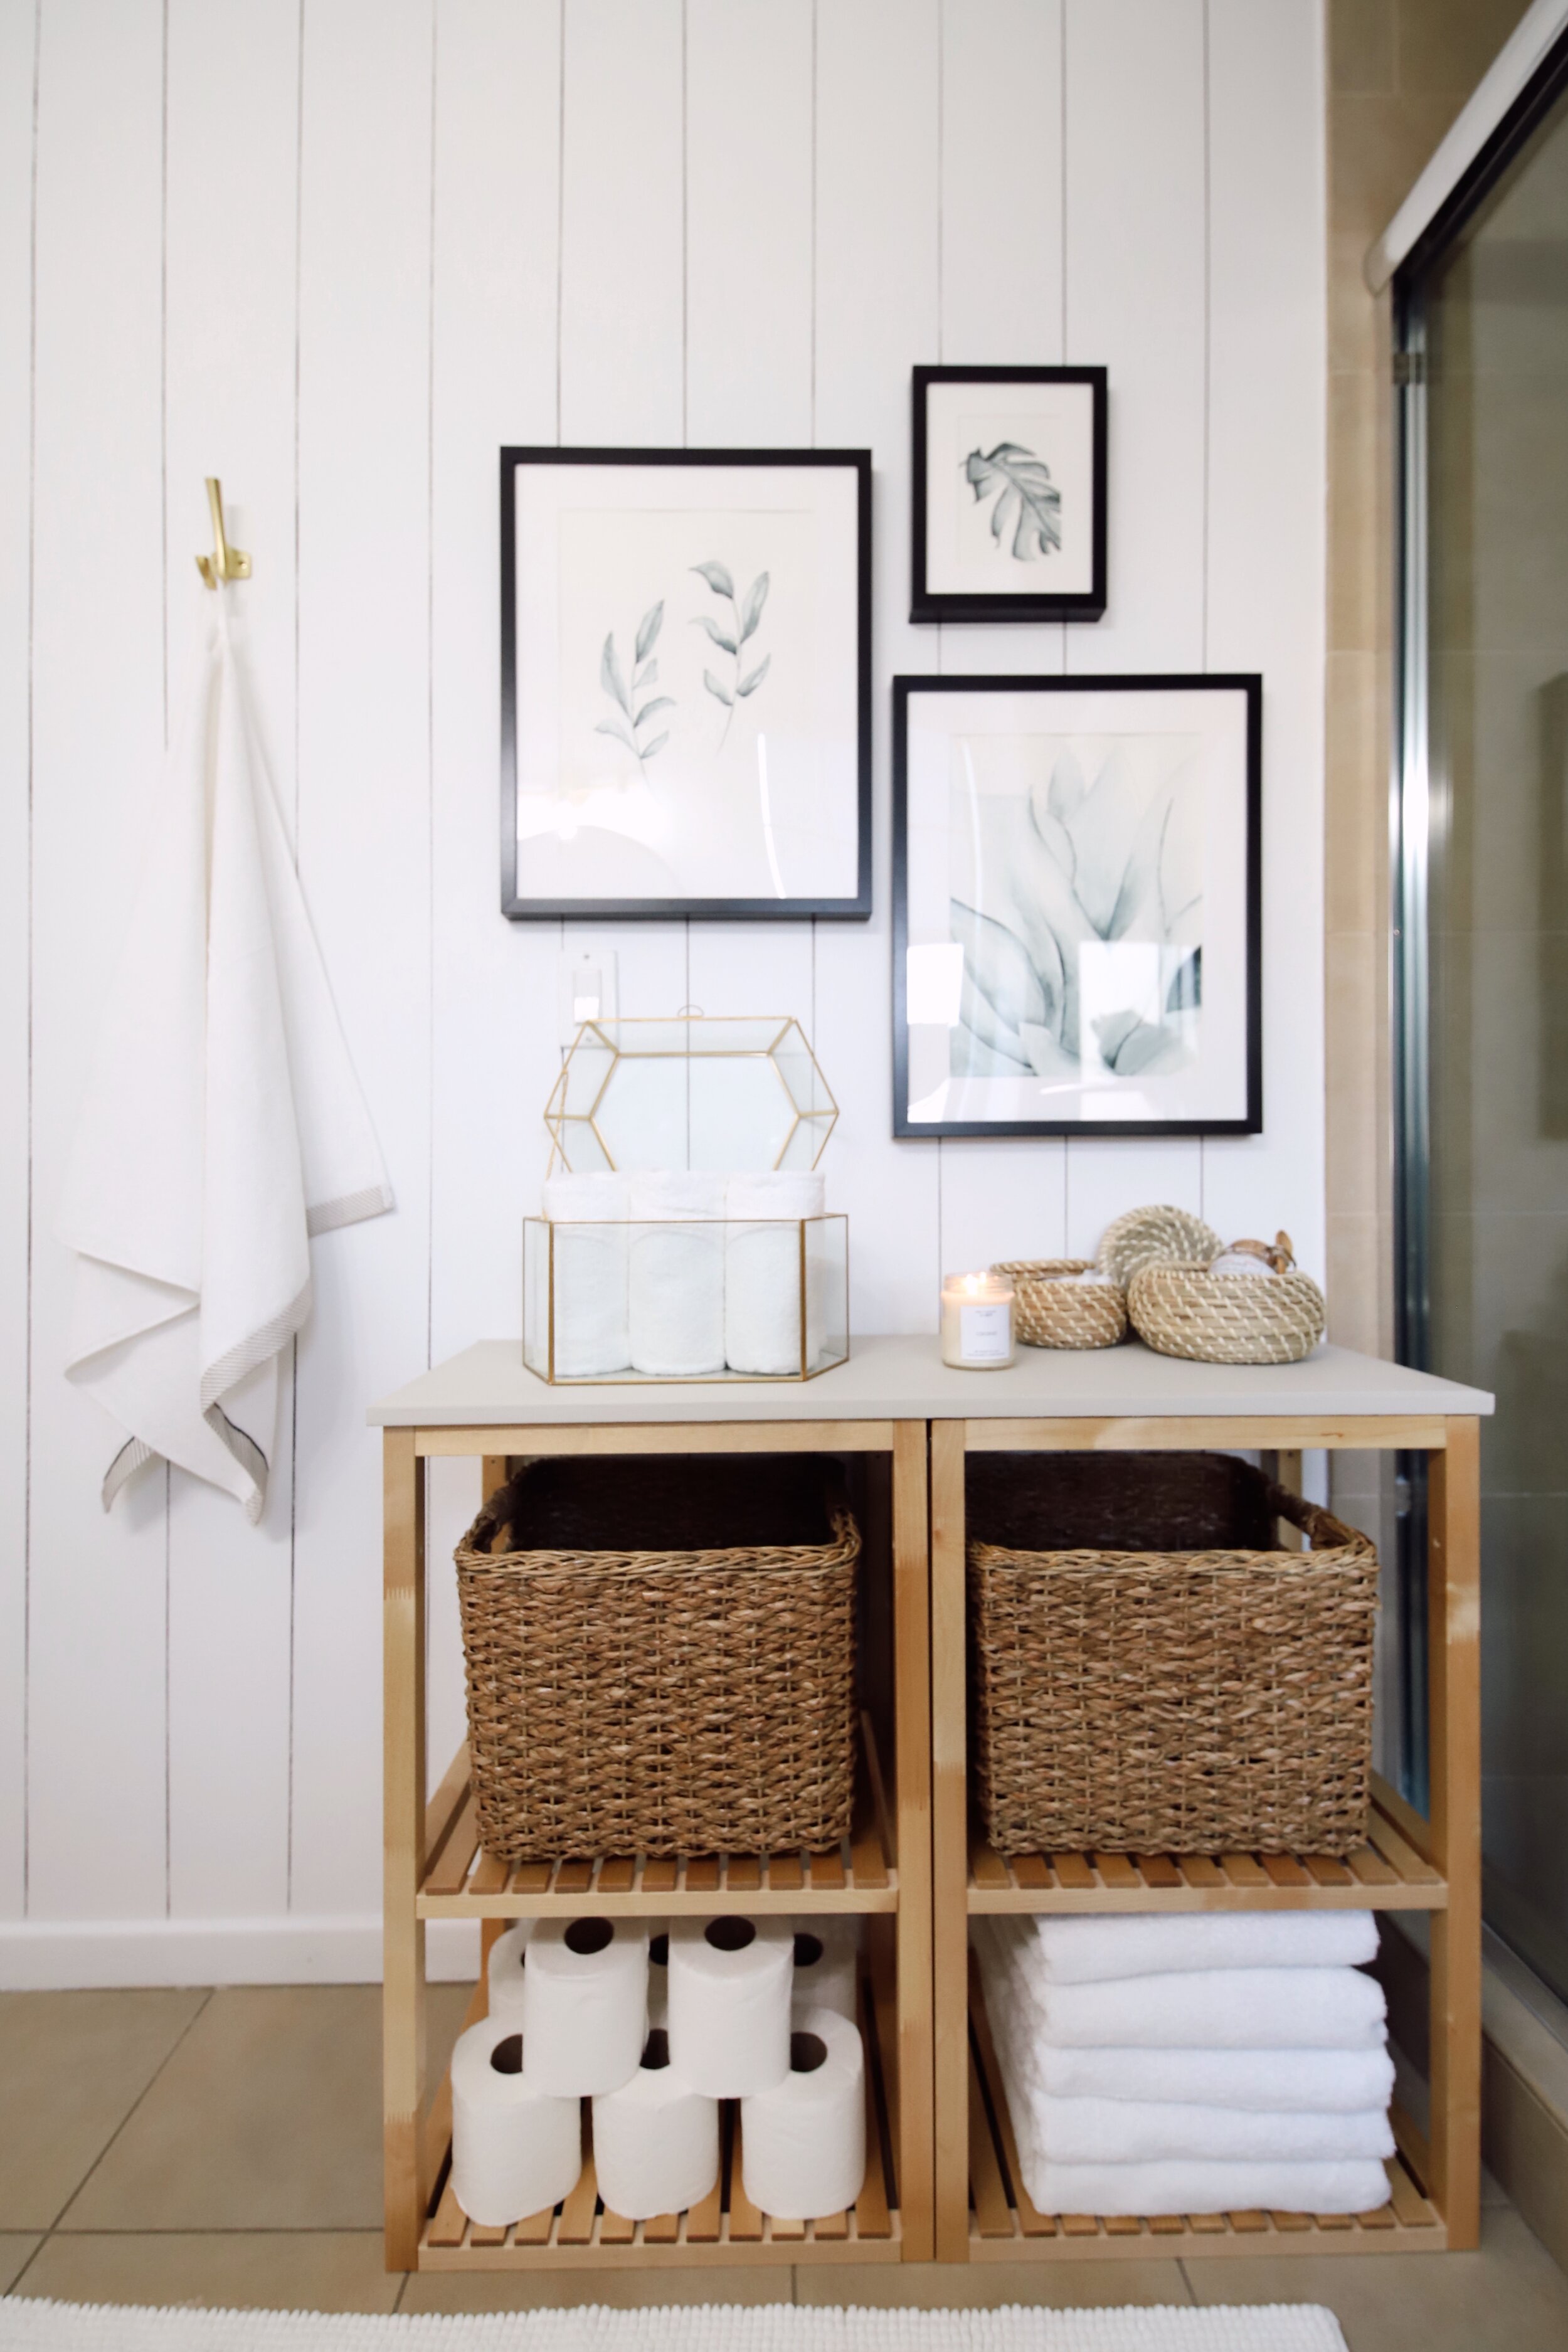
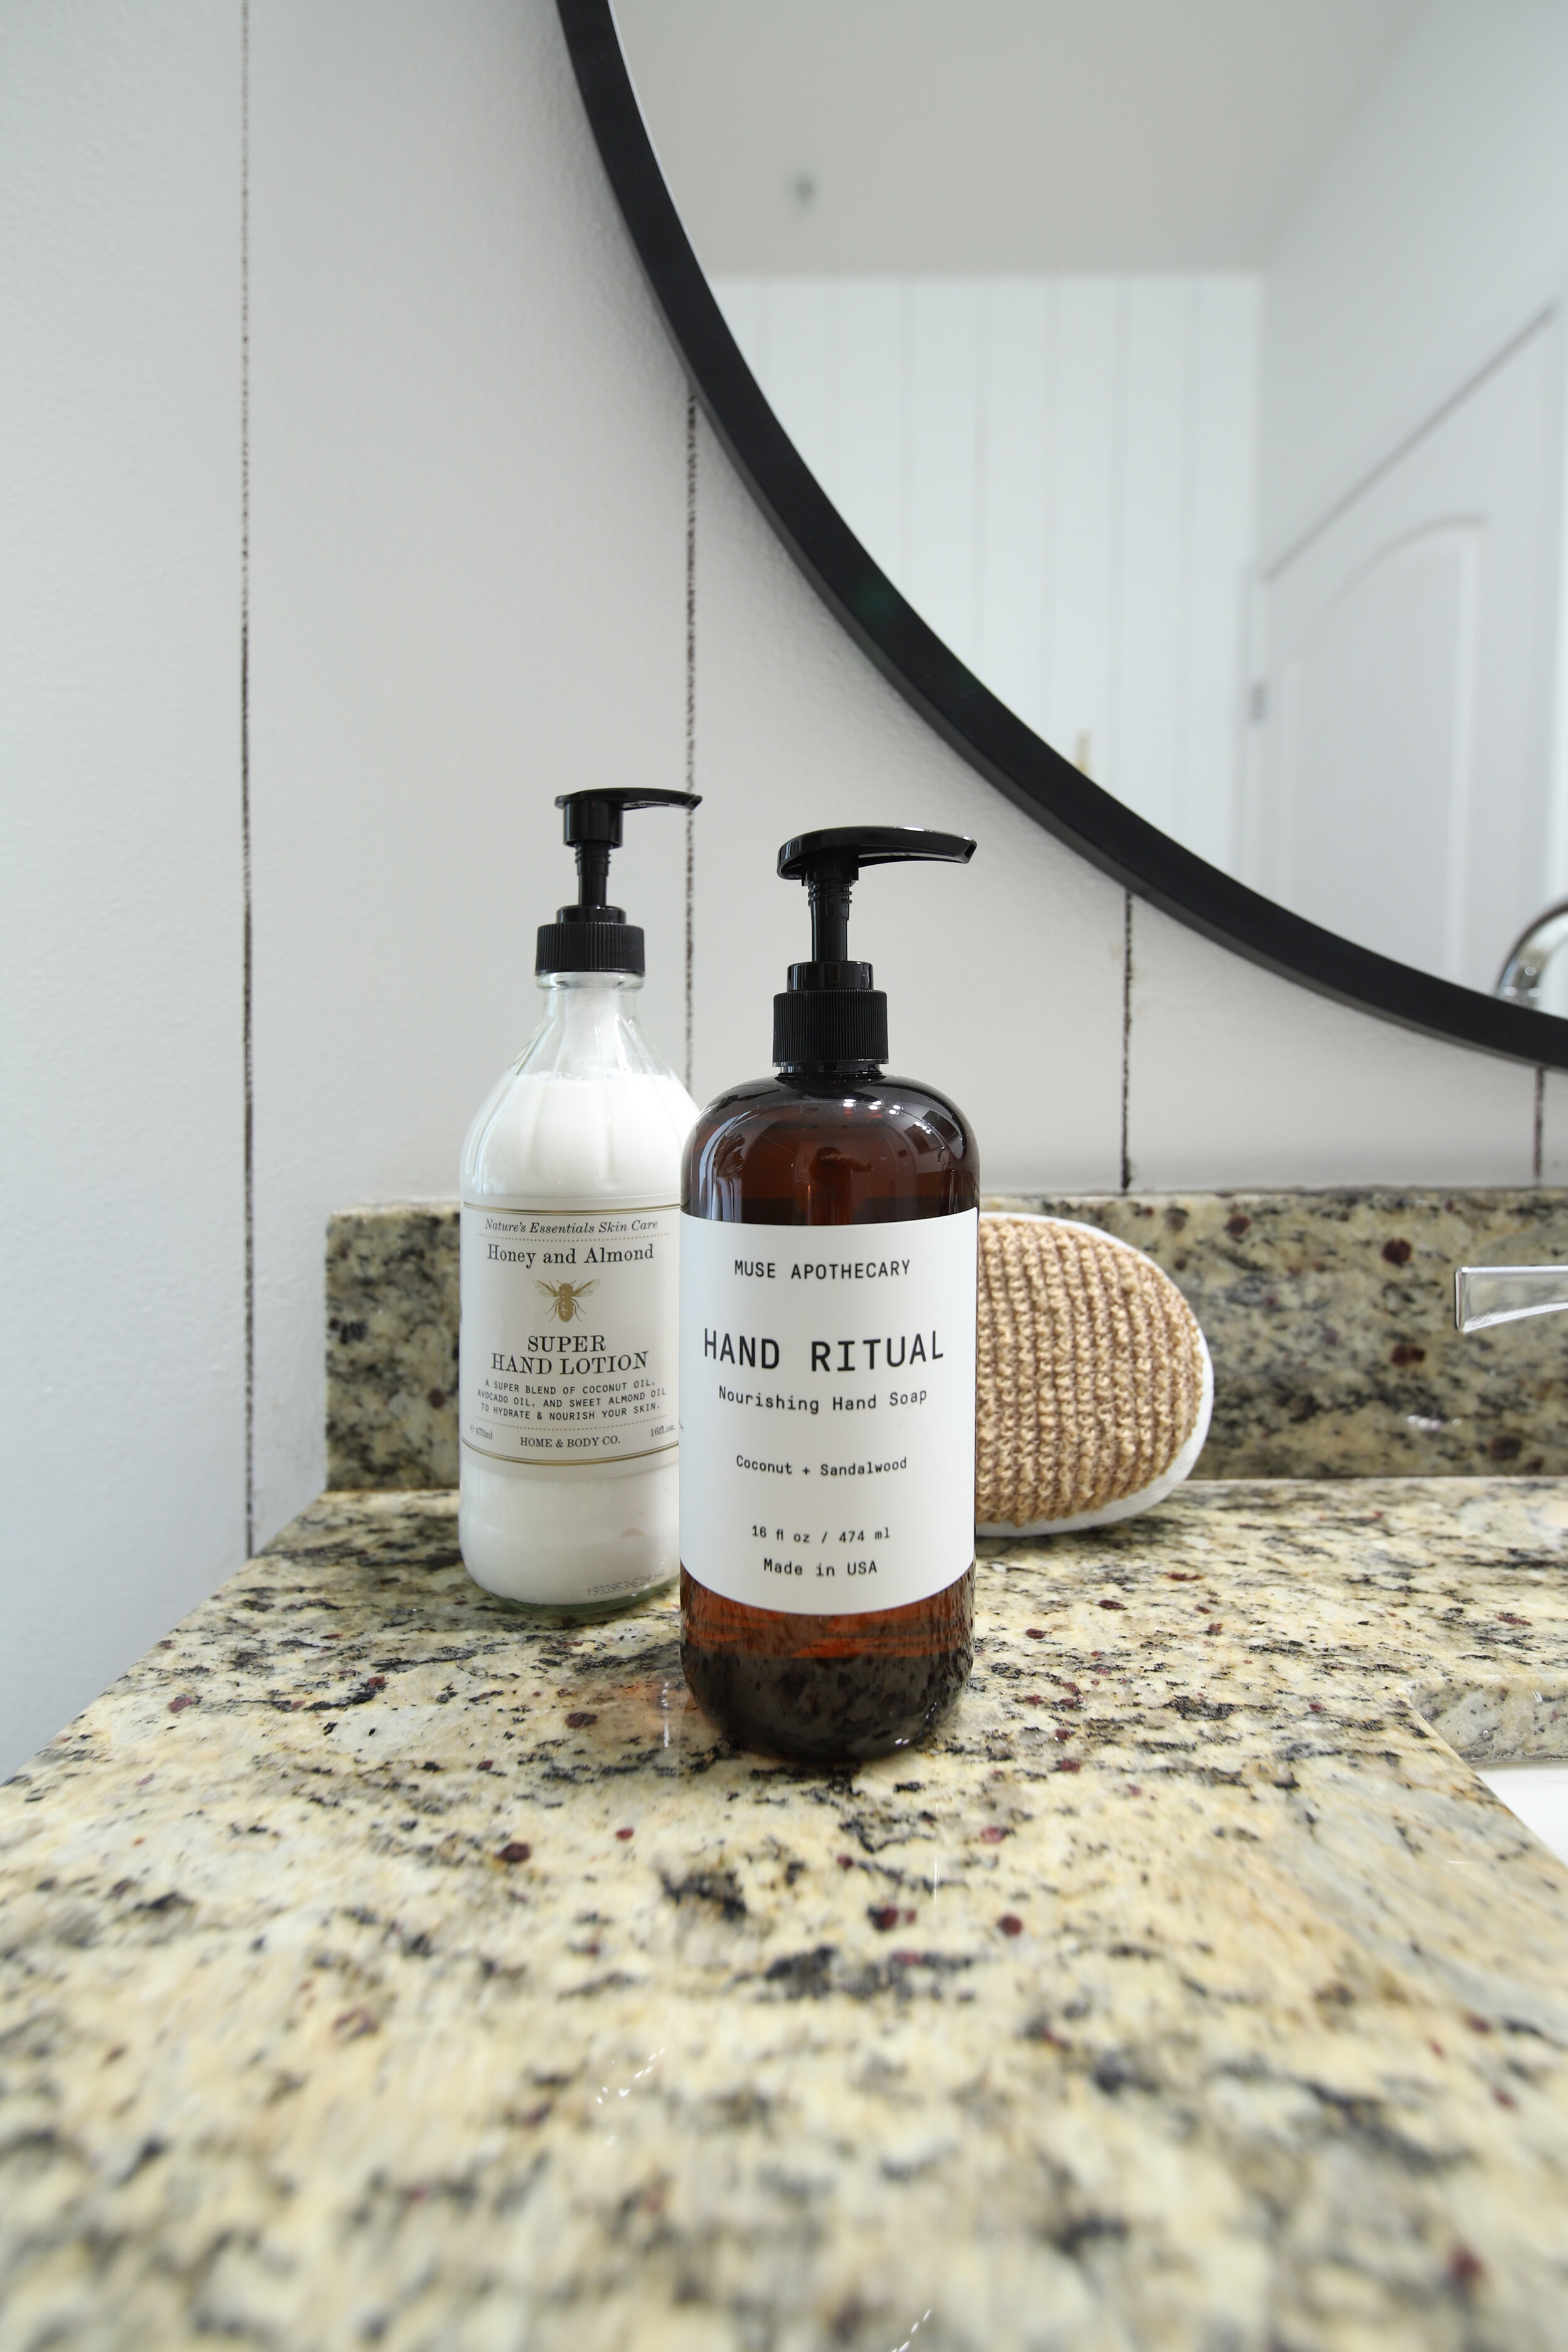
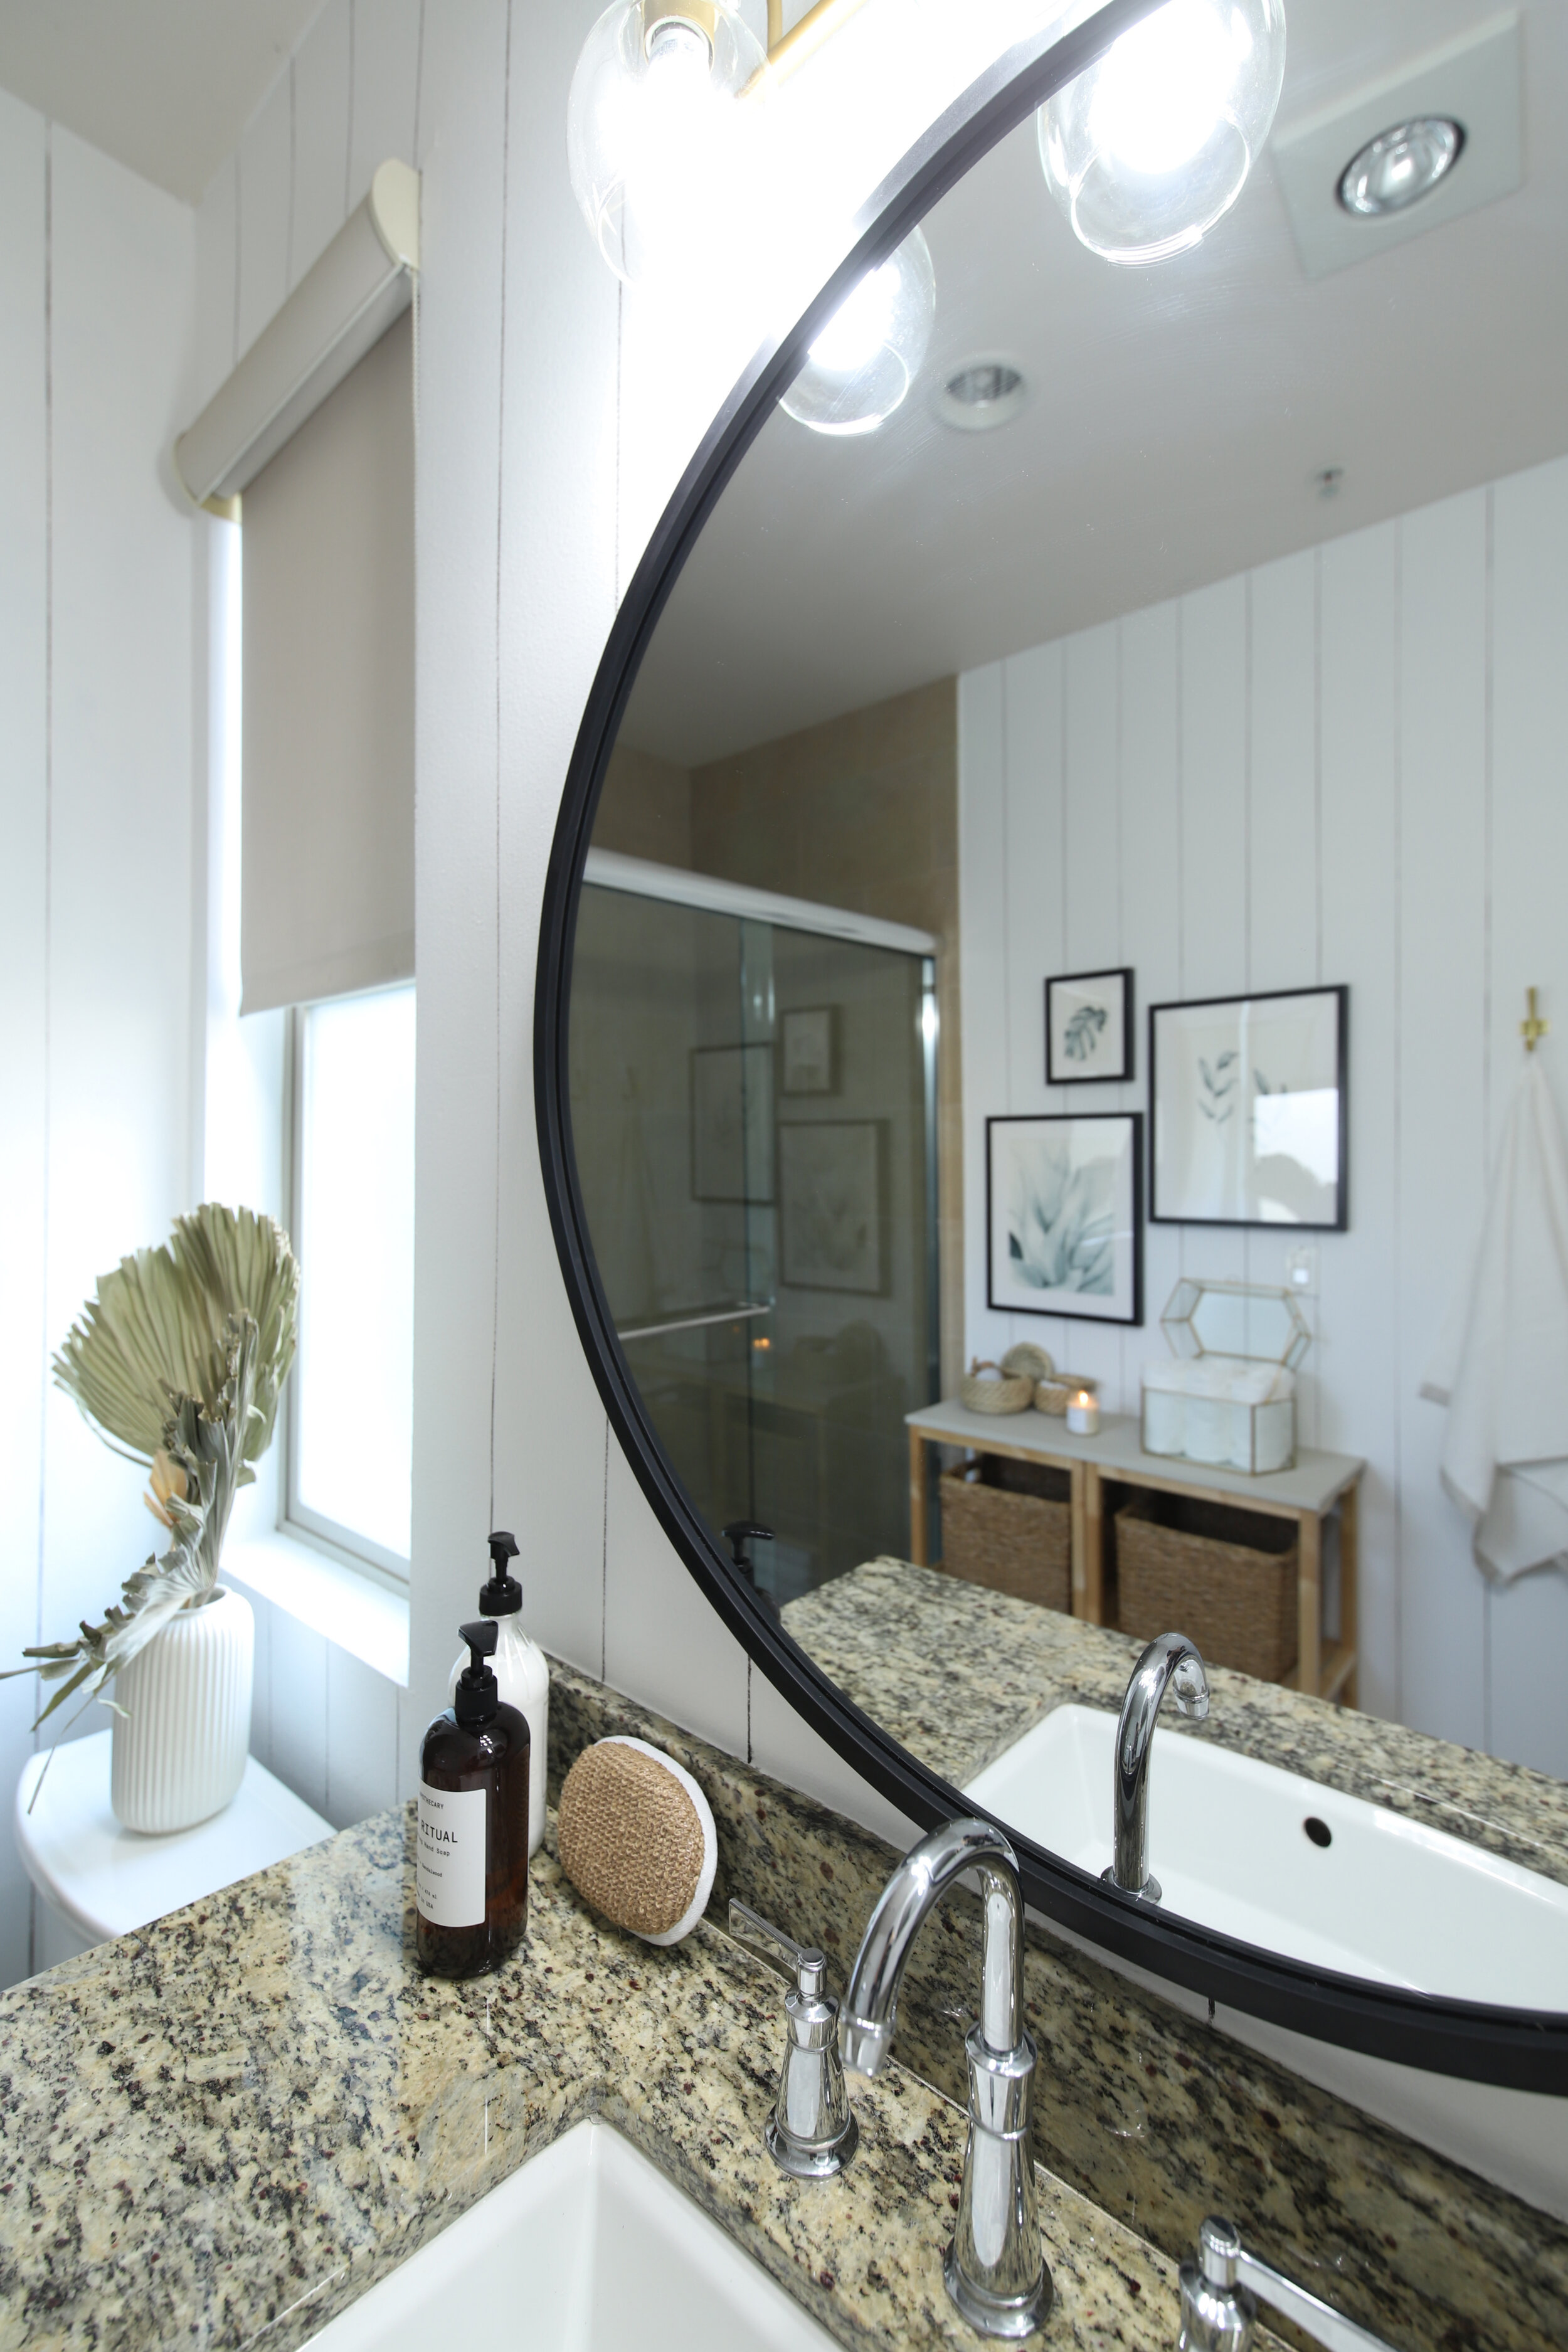
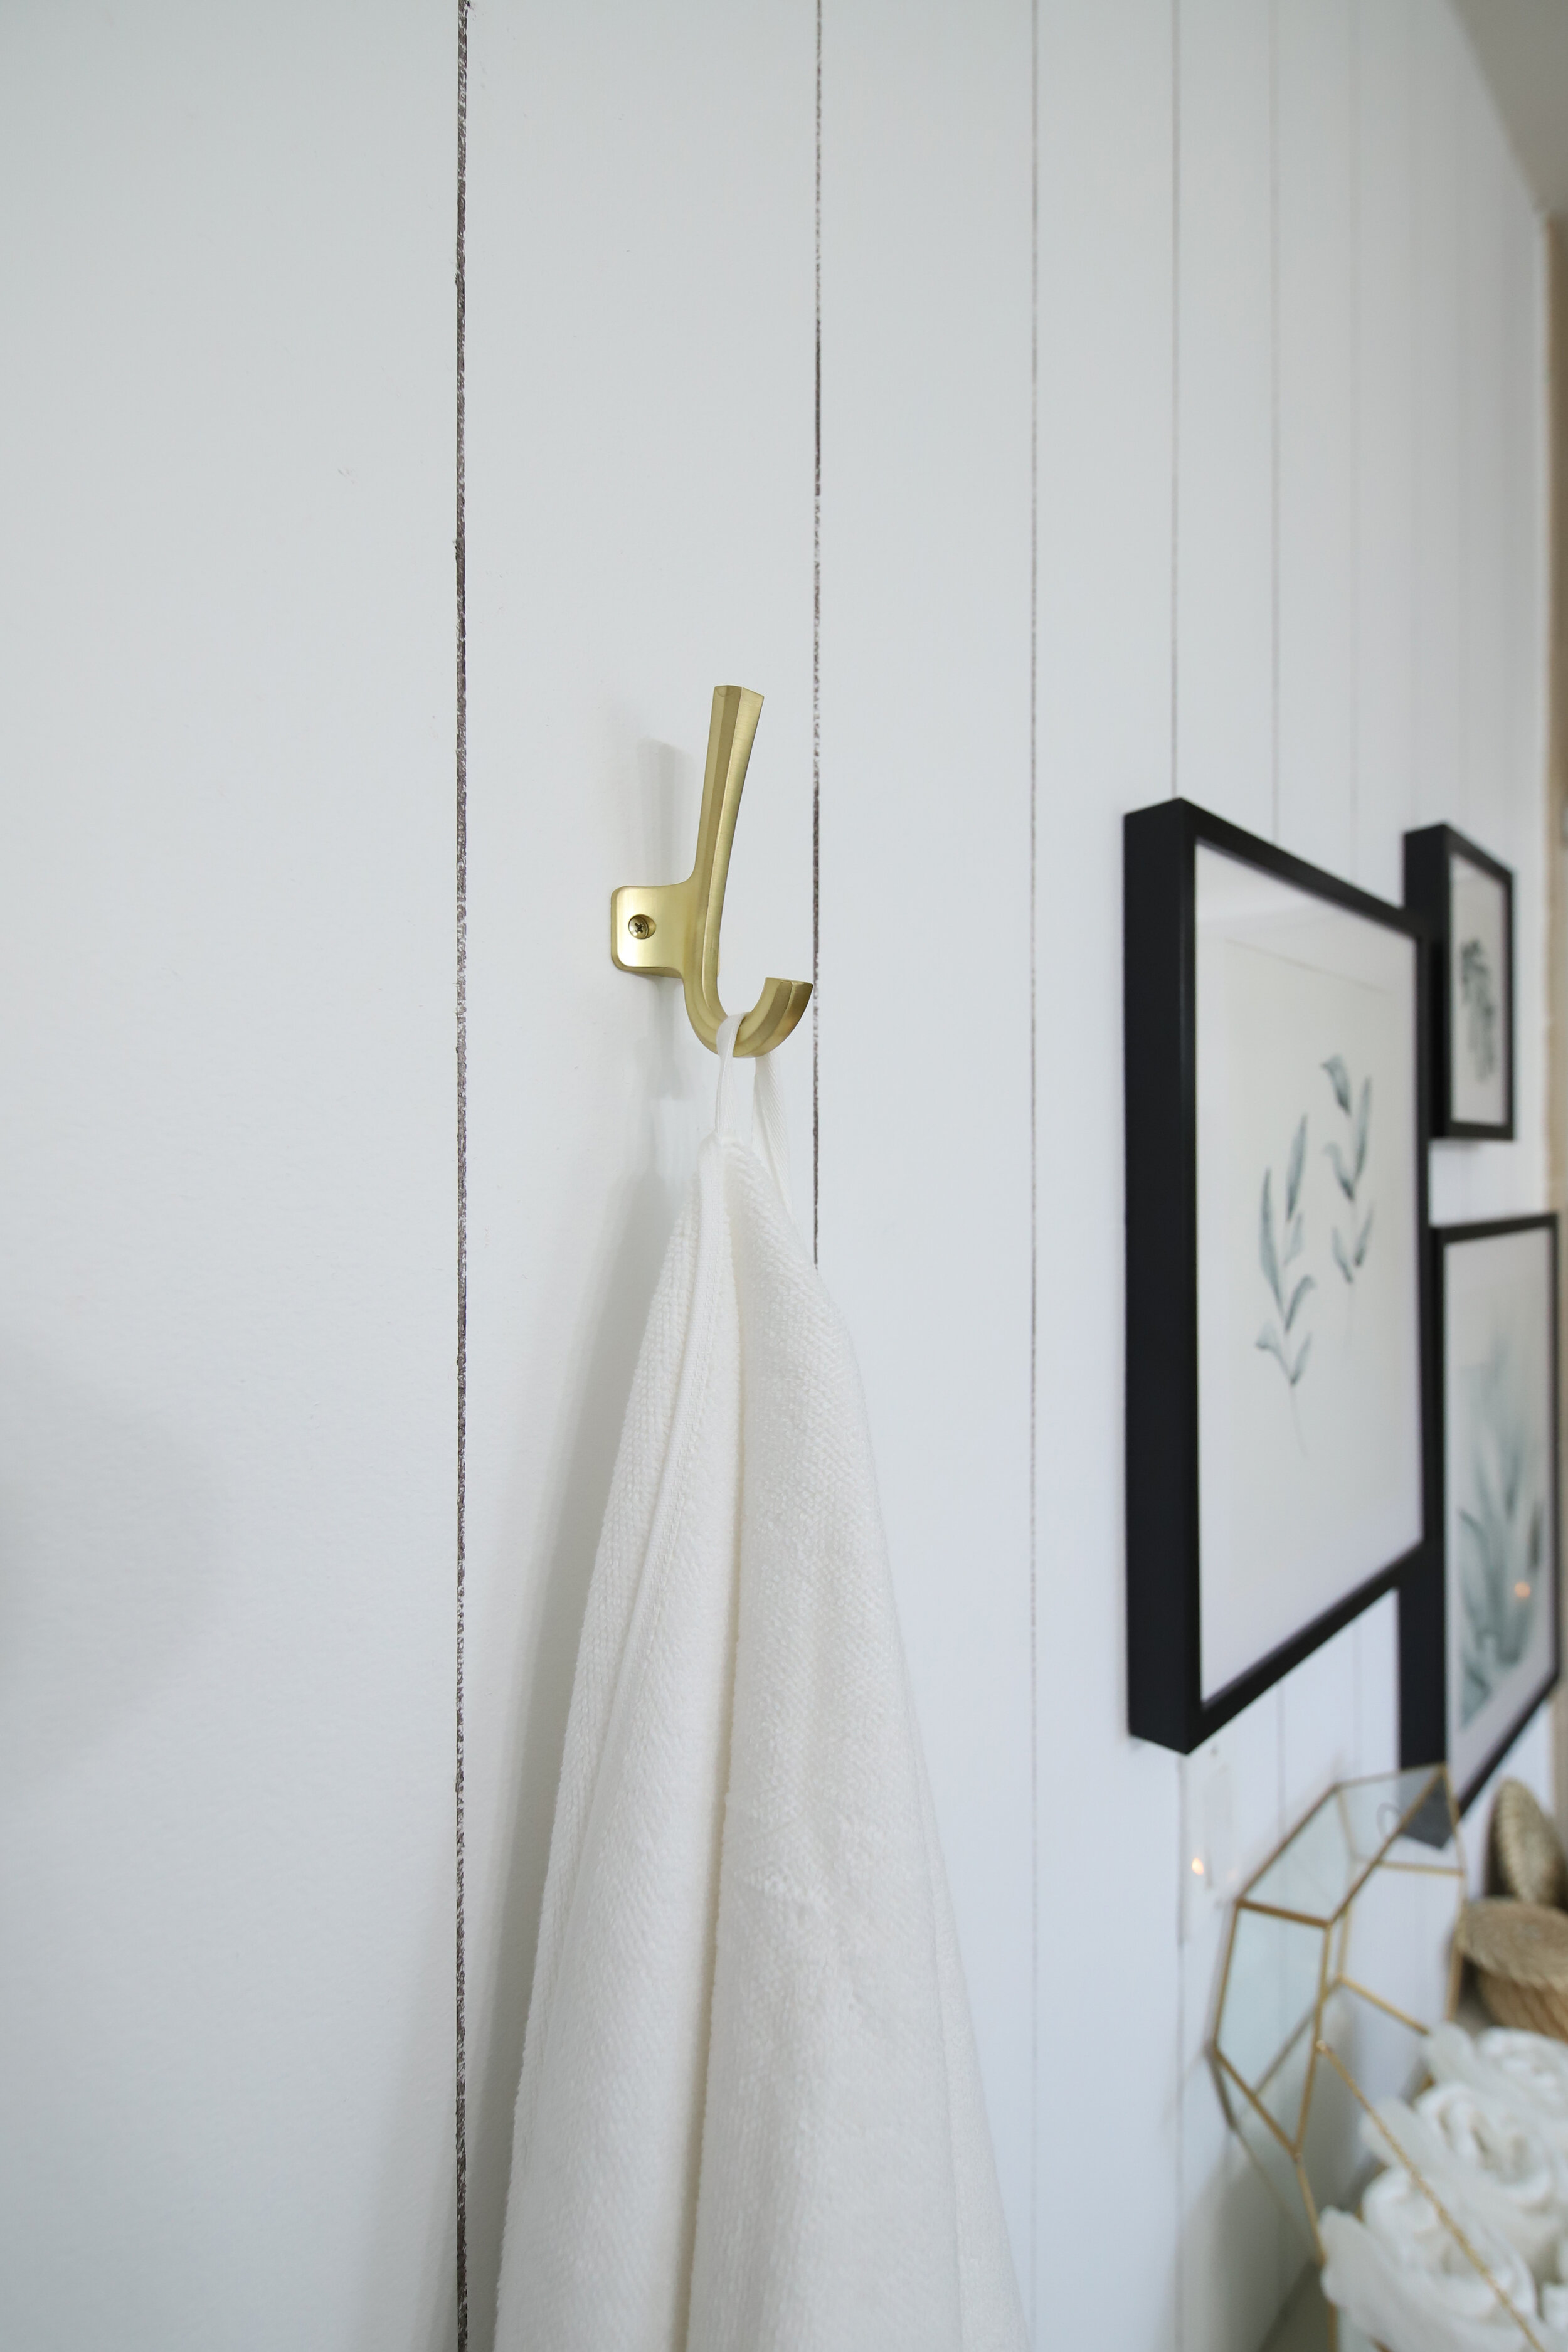
Shiplap walls can add so much character to your home, but can cost quite a lot in materials to accomplish. In a recent bathroom makeover I was determined to have the look of shiplap walls without breaking the bank! This unique yet easy to DIY paint technique is a great way to add visual interest to a room on a budget.
SUPPLIES YOU’LL NEED
Frog Tape (here)
Wall Base Paint (used Chantilly Lace by Benjamin Moore - finish eggshell)
Wall Accent Paint (used Deep Caviar by Benjamin Moore - finish flat)
Natural Bristle Chip Brush (here)
Laser Level (here)
Damp Rag
Additional painting supplies if painting walls a new base color…
Drop Cloth
Paint Roller
Paint tray
Angled brush for trim work
Paint base wall color and let dry for 24 hours.
Using a laser level, shine a level line up the wall then apply a straight piece of frog tape from ceiling to floor. This can also be done side-to-side if you would rather horizontal shiplap lines.
Move the laser level over ⅛” and apply an additional straight piece of frog tape from ceiling to floor.
Take a damp rag and wipe it over the two pieces of tape. This will ensure the tape is secure to the wall for a crisp and clean paint line.
Take your chip brush, dip into your accent paint (deep caviar) and then remove almost all the paint. We are going for a dry brush look so you don't want too much paint on your brush. If you need more you can always add.
Remove both pieces of tape immediately - before the accent paint drys.
Continue the steps above spacing additional shiplap lines 6” apart.
Let dry for several hours
Tip: You can reuse the frog tape for several lines if you can keep the tape from sticking together while removing it. Just remember to wet the tape with the damp cloth every time you apply it to the wall.
Tip: Your accent paint should not be applied perfectly even. Having some areas painted more heavily than others will give a more realistic shiplap look.


