Everything You Need To Paint Your Home Like A Pro
We always planned on painting the exterior and interior of our home ourselves; not only would it save us money, but I also really enjoy painting! So far through this renovation process, I've had a chance to learn what works and what doesn’t by trial and error. Here are my tips on how to tackle a big project like painting your house’s exterior like a pro.We renovated our existing home and also added on additional square footage so we had a combination of new and hundred-year-old siding boards. While the new siding didn't need much attention, we had a lot of prep work to do to the old siding making sure it’s clean, smooth, and free of chipped or flaking paint. This prep work was super important because it ensured that the new paint would stick and create a seamless finish. If you're ever planning on repainting older siding, you may need to do prep work like we did…STEP 1: Clean
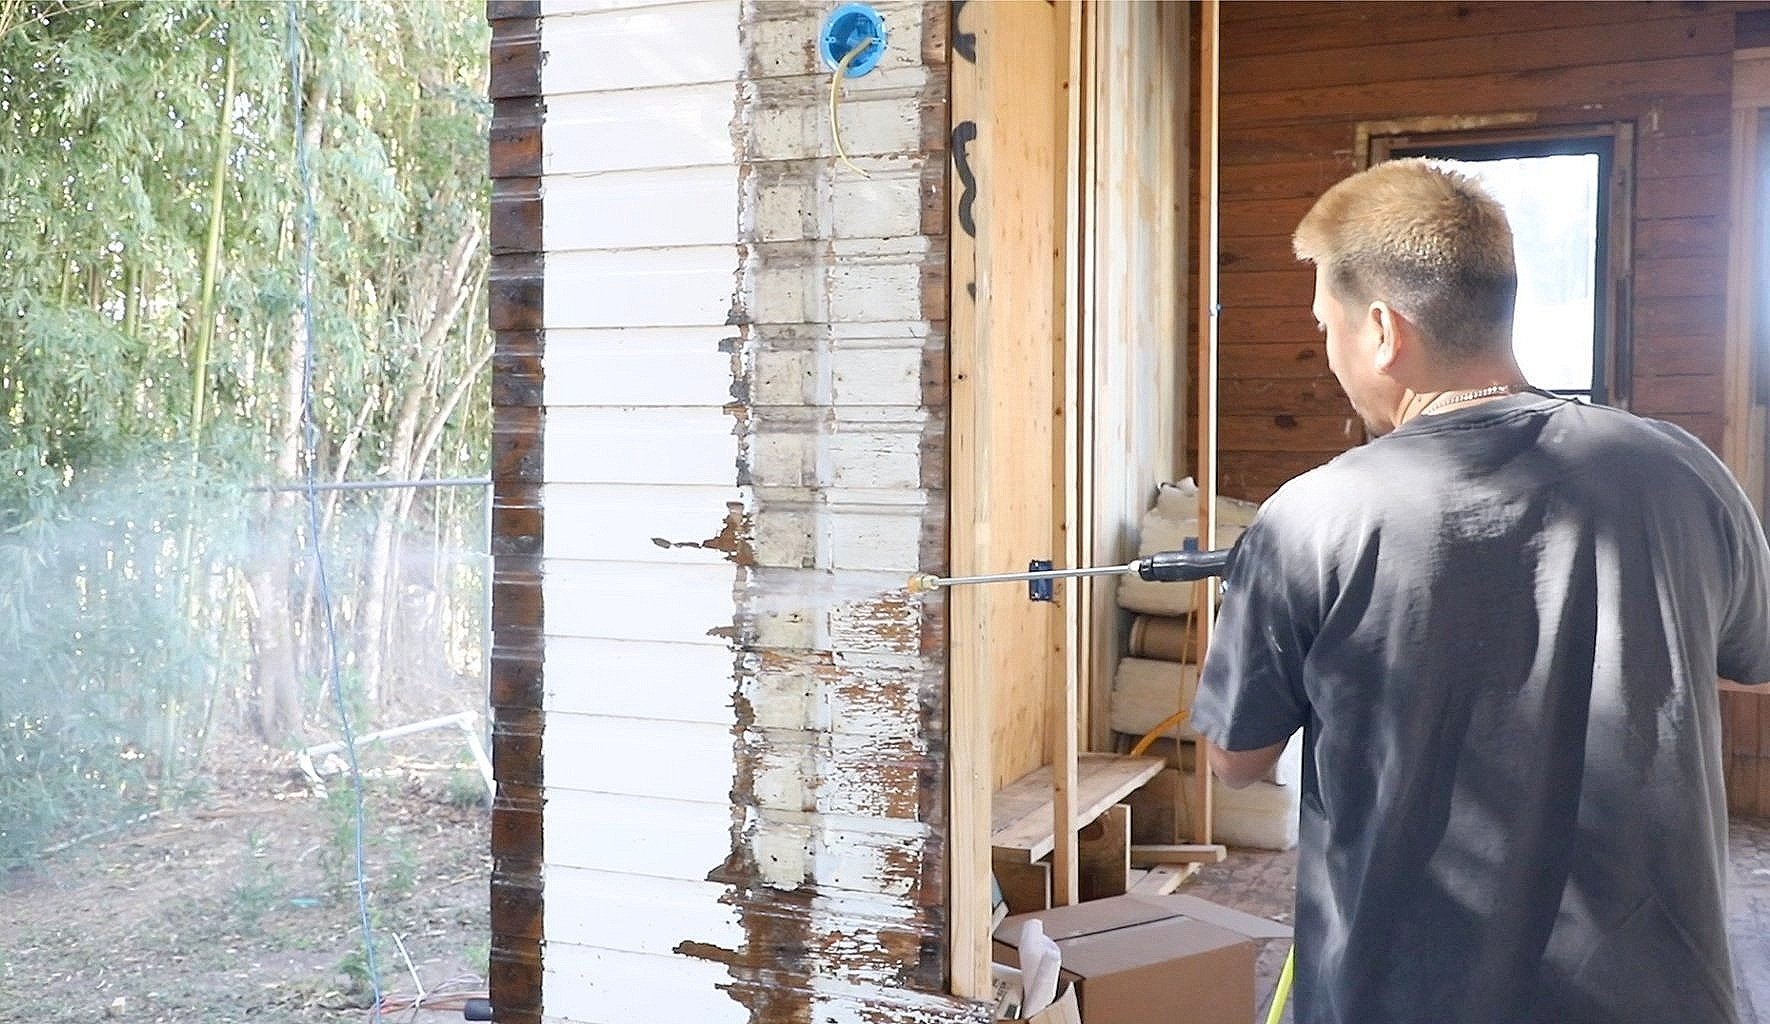
We started by pressure washing the house's exterior to get the first layer of dirt off and help chip away flakes of old paint and let it dry for 24 hours. Before sanding, we took a scraping knife to help remove more layers of flaky paint from the wood that the power washer couldn’t get off. We used a 60 grit sandpaper to remove the paint from the wood then a 220 grit sandpaper to smooth it all out. Then we lightly power washed one more time to ensure it was nice and clean for painting. Once the siding was dry, clean and sanded we moved on to the priming process.STEP 2: PRIME
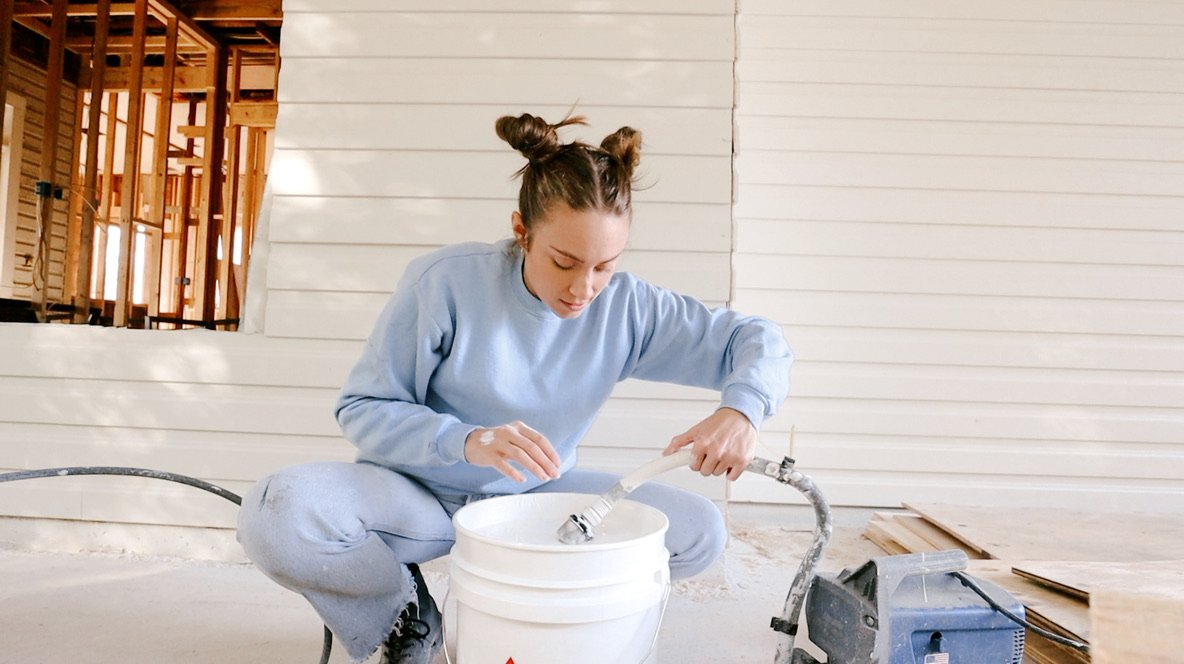
I purchased a paint sprayer when I tackled our ceiling and while it worked fine for some projects, it started to become inconsistent in how it sprayed (and heavy to hold). I did some research and found the paint sprayer of my dreams– it allowed us to prime the entire house in under two hours with the majority of that time being spent just moving the ladder around. We used approximately 7 gallons of Kiltz’s interior and exterior primer paint for our 2,000sq ft home and we only did one coat.STEP 3: PATCH
After the house was primed and all white, I was able to pin-point all the imperfections in the siding. This is where the new siding needed the most attention since the nail holes were all still visible. I took caulking and filled every single hole I could find– never give a perfectionist a caulking gun! I also filled the gaps where the siding boards met to make the transitions seamless. I spent a good part of the day making sure all the holes and gaps were filled before we moved on to paint.STEP 4: PAINT
When the house was finally prepped and primed, we painted it with two coats of Benjamin Moore’s Regal Select Exterior Paint in the color White Dove. This was one of the most exciting parts of this renovation because we finally got to see the house in all one color– not just any color but this creamy beautiful shade of white we selected months ago. In total, we needed 11 gallons for two coats of paint. I can’t believe how fast we got the house painted with the new sprayer– a true game-changer. It turned a daunting project into one that we easily accomplished ourselves AND saved us a lot of money.Next up on our home renovation is drying in the house and installing all of our restored hundred-year-old windows and exterior doors, so make sure you follow along on YouTube and here on the blog for more renovation updates.xo, MaCenna


